- You can split your project up into various Scenes and navigate between
them, using a script like this:
on (press){
gotoAndPlay ("Scene Name", 1);
}
(where the 1 represents Frame 1 of the Scene.) - You can control one Movie Clip with another MC or Button, jumping to
specific frames on the timeline of the target MC:
on (release){
_root.mc_instance_name.gotoAndPlay(10);
}
This jumps to frame 10 of the MC. You need to use the Target icon in the action palette to choose which MC instance this button is controlling.
- You can dynamically load an .swf file into an empty MC. (You have to
specify the pathname of the .swf file, so the easiest thing to do is
make sure the .swf is saved in the same directory as the main project
file). Once again, you need to target the MC you are loading the .swf
into.
on (rollOver){
_root.empty_mc.loadMovie("externalfile.swf");
}
- _visible - the visibility or invisibility of an object (0 or 1)
- _alpha - the transparency of an object (0-100)
- _height and _width - the size (in pixels) of the object
- _xscale and _yscale - the size of the object, as a percentage of it's original size
- _x and _y - the location of the object on the screen
- Using a Button to change the property of another object:
on (press){
_root.target_object._visible = 0;
//makes target object invisible
} - You can also do this with a keystroke. Attach this script to a Button only - but it can be an invisible or offscreen button!
on (keyPress "L"){
//uses the L key
_root.target_object._x = 10;
//moves the object to the spot 10 pixels from the left of the stage
}
Or,
on (keyPress "<Left>"){
//uses the left arrow key
_root.target_object._xscale = 50;
}
- =, +=, -=, *=, /=
- also, ++ or -- will add or subtract 1 from a value
- Try this to move an object across the screen:
on (keyPress "<Right>"){
_root.target_object._x += 15;
//moves the object 15 pixels to the right every time you press the right arrow key
}
- Can be numbers, strings, or booleans (0/1)
- Can be global (available anywhere in entire project), timeline-based (associated with a particular timeline - main or movie clip), or local (just used in the current script, between the { }.
- Must be declared, and initialized:
- global:
_global.myVar = 200; - local:
var myVar = 200; - timeline:
_root.mc_name.myVar=200;
or just
myVar="some text";
- global:
on (press){
objectLocation = 0;
_root.object_name._x += 10;
objectLocation = _root.object_name._x;
//stores the _x value in myVar
trace("the horizontal location is " + objectLocation);
//combines text string in quotes with value of variable objectLocation
}
- Create a text box. In the property inspector, make it Dynamic text.
- Also in the property inspector, assign a Variable to the text box (like "textVar")
- Then, you can use a script like this one:
on (press){
_root.object_name._x += 10;
textVar = _root.object_name._x;
}
myRandomnumber = int(Math.random()*10);
gives you a number between 0 and 9. (we use the int command to convert from a decimal to an integer value)
If you wanted to get a number between 1 and 10, just add 1 to the value:
myRandomnumber = int(Math.random()*10) + 1;
for(i=0;i<10;i++){
trace(i);
_root.MC._x--
}
would count from 0-9 and write the count to the Output window. It would also move the movie clip MC one pixel to the left each loop.
myArray= ["Apple","Orange", "Peach", "Plum"];
or
myArray = new Array();
myArray.push ("Apple");
myArray.push ("Orange");
etc...
the push command adds a new item to the list.
To access an item out of the array:
myItem = myArray[1];
would return the value "Orange" because array positions begin counting at 0.
Use the splice command to remove an item from the array:
myArray.splice(2,1);
would remove the item at position 2, and remove 1 item from that point. If we did
myArray.splice(2,1,"Pear");
it would remove one item from position 2 and replace it with the string "Pear".
function sum(a,b) {
//the function is named sum
c = a + b;
return c;
}
//this function takes parameters at a and b and returns the value c.

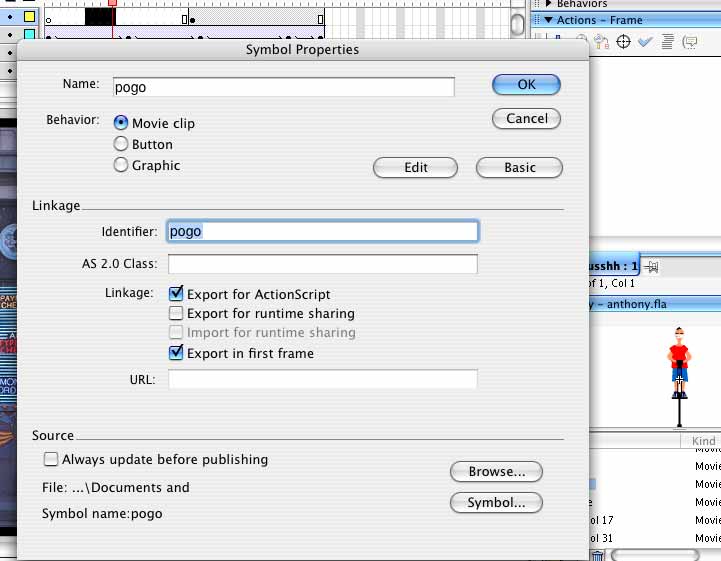
To load the MC using attachMovie, use the following code:
attachMovie("MC_name", "instance_name", level);
each attachMovie instance needs a unique level.
Often, the attachMovie command is used in conjunction with a for loop to load many instances of an MC:
for(i=0;i<=5;i++){
attachMovie("sprite", ["sprite" + i], i);
//notice how i is appended to the instance name and used to give a unique level number
_root["sprite" + i]._x = i * 50;
_root["sprite" + i]._y = i * 50;
//this part puts each instance in a different spot on the stage
}
on (press){
startDrag(this);
//the "this" means it is targeting itself
}
on (release){
stopDrag();
}
if(_root.target.hitTest(_root.bullet)){
gotoAndPlay("youwin");
}
In this case, we're checking to see if the bullet MC intersects the target MC, and if so, jumping to a labeled frame named "youwin".
_root.cursor_mc._x = _xmouse;
_root.cursor_mc._y = _ymouse;
on (press){
mySound = new Sound();
mySound.attachSound("beep");
mySound.start();
mySound.setVolume(50);
//you can set the volume 0-100
}
on (press){
myColor = new Color("myMovieClip");
myColor.setRGB(Oxff0000);
//ff0000 is the hex for Red
}
You can get Hex values for colors in a color palette window.