Hey guys, here is my work for assignments 1 & 2.

Both videos have audio which explain what you are seeing.

Assignment 1, the geometric abstraction, takes place in a party-like setting, where the viewer is the looking through the perspective of the wall.

The interactive animation that I made for assignment 2 takes place in a home-like setting, where the user can interact with the cup of juice sitting on the table, and both windows. These animations are triggered when gemmouse detects that the user’s curser is between the correct coordinates, and that they are clicking the left mouse button.

I hope you enjoyed my works!

– Dan Driggs

Hey guys, my name is Jay and I’m going to talk a bit about my interactive animation. For this project I found a picture of a volcano scene with some wonderful Alpaca’s in the foreground. This Patch consists of three animations, 2 of which are activated by mouse over and the third, a click. The animations include: a meteor falling from the sky, activated by moussing over the alpaca on the right, a series of stars forming over the volcano (paramount), activated to the left of the ice cap, and finally a volcanic eruption, started by clicking on the volcano. I created all of these animations by drawing in Photoshop and then transferring them into PD. Hope you enjoy!


My name is Alex Silk and I’d like to use my first blog post to show you my interactive media using the gemmouse and simple animation features in Pd Extended. Here I found a pastel looking picture of a desert landscape though Google and incorporated 3 animations to execute when rolling the cursor over 3 specific locations. Using Photoshop I was able to create all 3 of my animations. A solution I found for presenting the final copy correctly was numbering each animations’ gemhead accordingly so the transparent animations were layered on top of the animation with the integrated background. In my case I let the Cactus Animation have the integrated background and the remaining two layered on top with transparency.

The 3 Locations include:

– The Cactus

-The Rockedge (slight right)

-The Sky (slight left)

Hey everyone,

My name is Adrienne Weishaar and I would like to share with you the work I have created with Pd extended.

My first piece is the Geometric Abstraction. I used circles, squares, and triangles with different colors,  scales, rotations and translations to give them the different effects. With metros and bangs I was able to click one centralized bang that started the animation of these simple geometric shapes. Here is my final piece.

My second piece is an Underwater Animation. This was a more challenging design for me but I am very satisfied with my final piece. For this project I downloaded the underwater scenery from a Google image. Using Photoshop I created the animations of shark swimming across the screen, a jelly fish swimming upwards, and a submarine peaking up from deep in the ocean. After I rendered each animation, I downloaded them into Pd Extended and added triggers to the animations. During the video of my final animation, you will be able to locate the trigger locations. All triggers are simple rollovers. Enjoy!

It’s always interesting to learn about new software each term, especially as a Software Engineer and Computer Science Major.  I have a fascination with software, especially open source, since a software’s creator is usually a person who is similar to me.  I like to think about what the engineer was thinking when he or she added a certain feature, or organised an interface a certain way.  Would I have found the same solutions to their engineering problems?  How would I have gone about solving the puzzle that is creating new software?  I am always happy when I am introduced to a novel piece of software in a course, because it allows me to think deeply about all these types of questions.

This B Term at WPI I have been introduced to a software that is alien from any other that I had used before.  It is a tool that we are using in IMGD 300X, Inter-Media Electronic Arts.  This software is called PureData.  In PureData (or “pd”) you create applications by using visual “blocks” that you drag around the screen and connect with lines to create relations.  These complex visual webs you build up to create programs that will generate different works of art.

In pd you can add almost any form of media (audio, picture, video) and use it in some way to form a creation.  The first week of the course we used pd to create geometric shapes with the GEM library.  In pd we used different types of blocks to create triangles, squares, and circles of all different colors.  Pd allowed us to rotate and scale these shapes on screen to create interesting illusions.

Last week we were able to use pd to load-in our own images (and thus, animations) and track cursor movement and mouse clicks to create responses based on the user’s input.  If you would like to checkout the result of one of these projects, checkout my blog post on my interactive animation, on go to my youtube channel here to see a working demo:

https://www.youtube.com/watch?v=0kfljIzhphs

There will be more to come in my subsequent posts on PureData, file I/O, and animations, but for now, so long!

Madalyn

Hi All;

Here is my interactive animation:


I’m sorry that the clicking sound is so annoying. I had a difficult time getting a screen-capture software that actually worked, since my computer didn’t come with one installed.

My image has three animations. You can click:
1.) The fountain

2.) The pokeball

3.) The Campus Center building

Each will play a corresponding animation when clicked. I used photoshop to create the animations. I used PureData (pd) to put it all together and create the interactive environment. The main image I took myself over the summer (2013). I drew the animations for the fountain and the building, and the images for the pokeball and pokemon I got off DeviantArt.


I explain all this in my video. Enjoy!

~Madalyn

Hello people! I am Stefan Alexander and this will be my first post. I will be sharing to you guys what I have done so far in Pure Data.

For the Geometric Abstraction assignment I just tried out different manipulations of simple objects such as scaling, translating, and changing the opacity.

Here is what my final project looks like along with the Pd code (it is highly recommended to watch the video at 1080P full screen if you want to see what the code is actually doing):

And for the Interactive Animation assignment since I am not really an artistic person, I decided I would just create a simple face and animate each part.

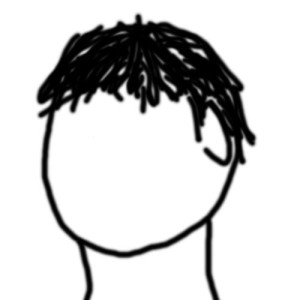
In Photoshop I first made a plain head with no eyes, nose, or mouth. This is what it looks like:

Used for my interactive animation assignment.

Head image used for my interactive animation assignment.

Then, I made three video layers: one for the eyes, one for the nose, and one for the mouth. After that, in Pd I loaded each of the layers separately.

To be able to trigger them with mouse actions I used the mouse_g and over_g patches that were provided by the professor. At this point I noticed that I need to make sure that the animations will only be triggered when the mouse is overlapping the corresponding area. Hence, I basically made “dummy objects” for each part to record the dimensions and coordinates I need to set the over_g and then deleted those dummy objects.

To make things more interesting, I made the nose animation only be triggered when the mouse is overlapping and it is clicked. So here is the video:

It is an interesting class so far, I am looking forward to Project 1! 😀

For the flex sensor controller, a flexible foam shell in the shape of a building would pull the project together in terms of concept. Having the user smash a small building to make a film-monster smash an entire city creates a firmer connection between action and result.

The actual assembly of the foam building started with a purchase of the 1″ thick super soft foam from a site called Foam Factory. As I waited for the foam to arrive, I went out and got the rest of the supplies.

  • 1 6oz bottle of acrylic paint [black]
  • 1 6oz bottle of acrylic paint [white]
  • 2 bottles of Elmer Rubber Cement
  • 1 hot wire foam cutter [uses 2 D cell batteries]
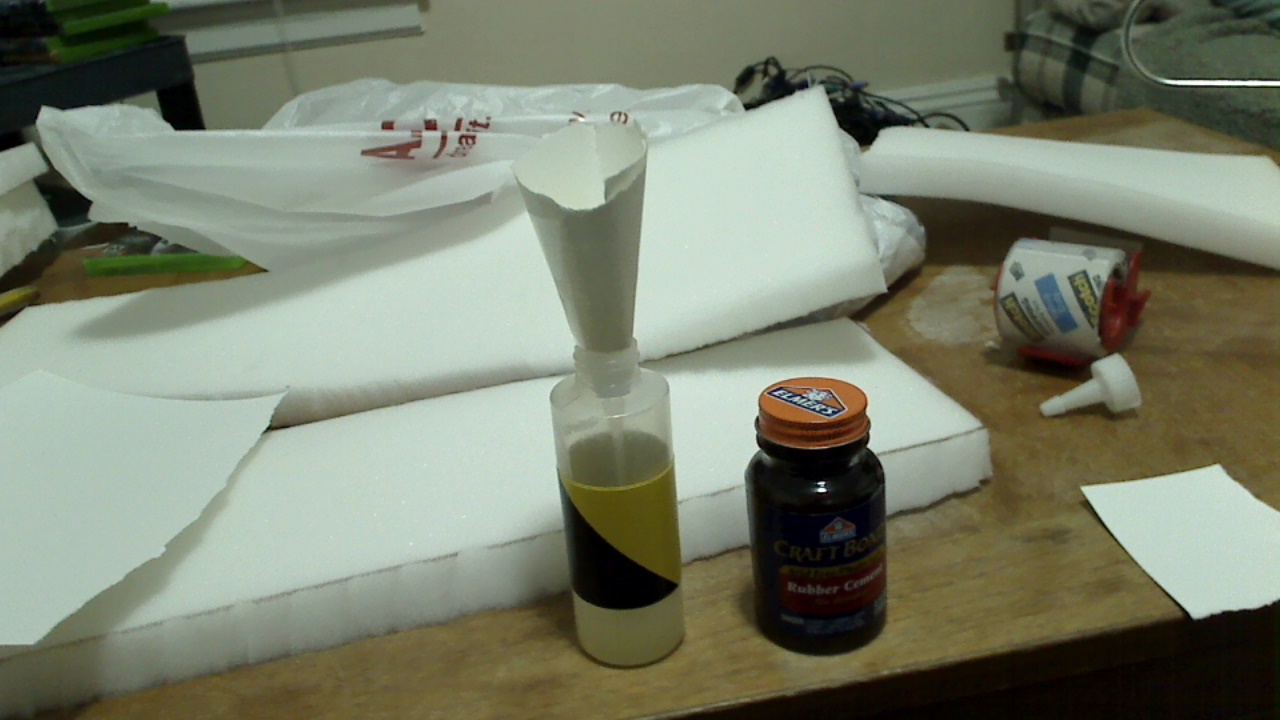
I used rubber cement as my adhesive since I knew that it could flex without breaking and that it wouldn’t melt my foam too badly when applied.
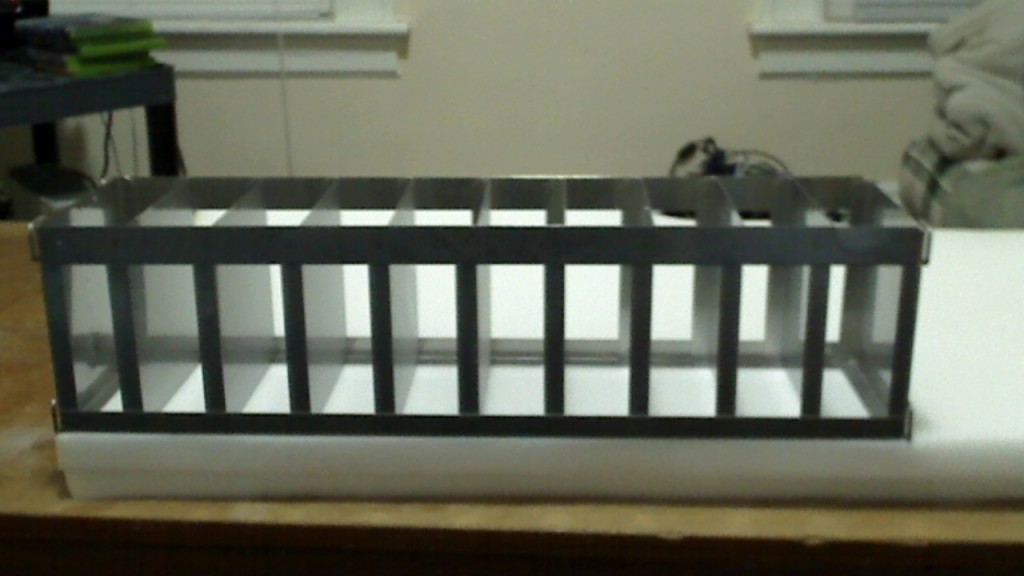
When the foam sheet arrived, I got to work. Using a bio lab sample storage tower of a good size, I marked out a set of cutting lines and took the hot wire to the sheet.
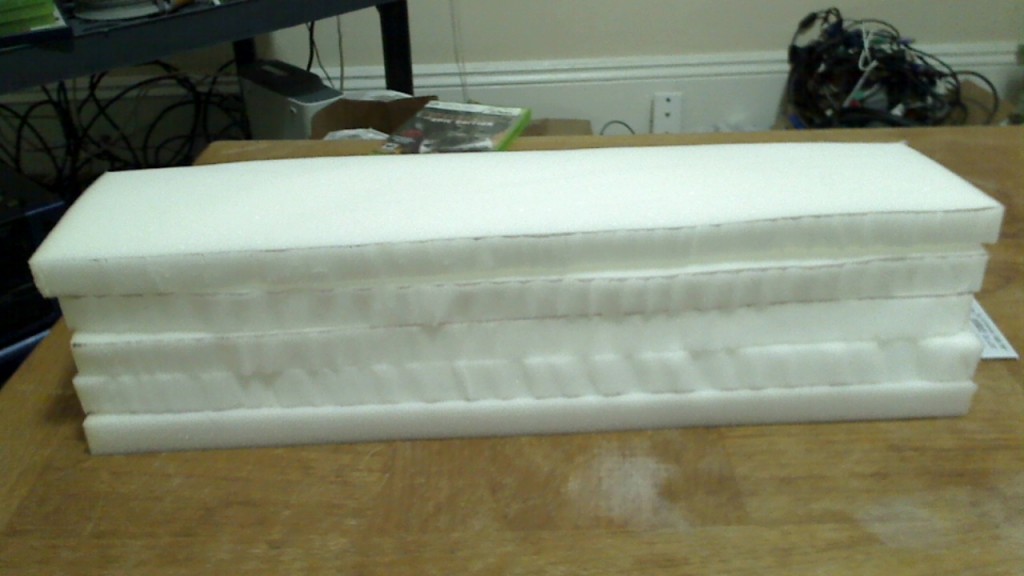
After enough pieces of foam were cut to get a reasonable width, the layers were adhered to one another using the cement. During my first test of the cement, I found that using the normal brush applicator did not allow me to get enough of the stuff on the foam at a time, so I ended up pouring the jar of rubber cement into a plastic squeeze bottle with a tapered nozzle. This was I would just draw a think line of glue that would stay on the surface of the foam long enough for me to put the pieces together.
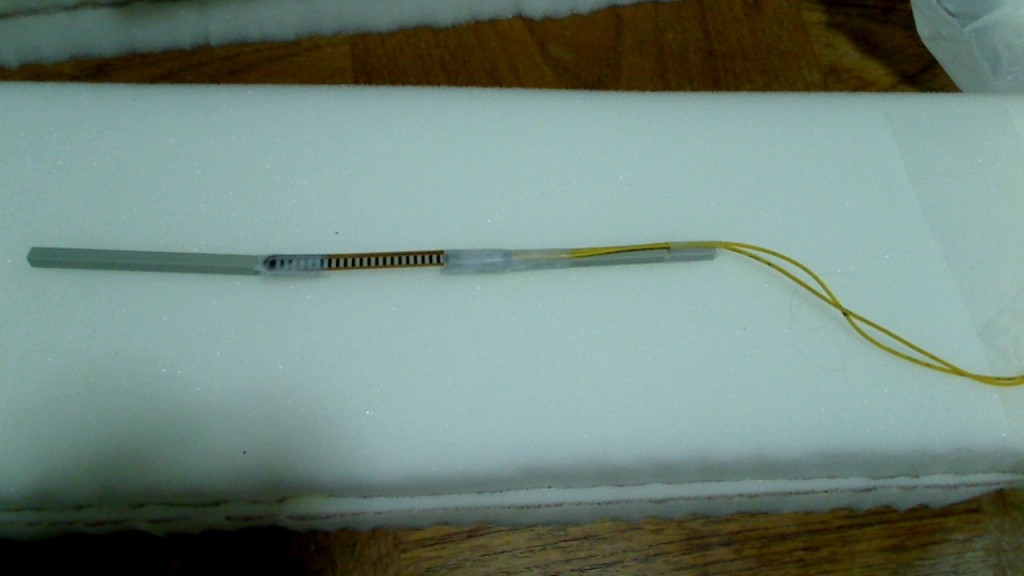
Eventually I got the foam slices into two solid pieces that the flex sensor would then reside in. Since the actual sensor is quite small, I taped a few inches of broken acrylic scrap onto each side so that the overall working length of the sensor was more formidible. To prevent sliding , one side of the sensor was glued to the foam while the other side was left free to extend and contract during flexing.
After inserting the sensor, the two larger foam halves were glued together and the entire assembly was let to cure overnight.
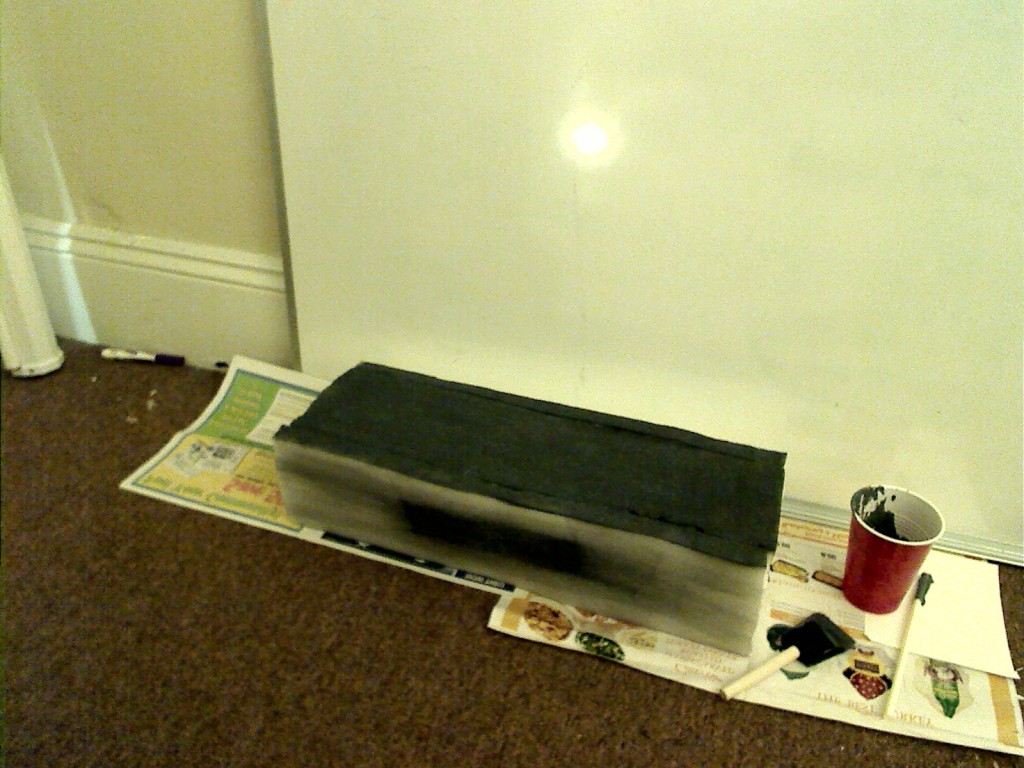
The following day, the completed tower was coated in a layer of grey paint. This was applied using a large foam brush in broad strokes.
After the grey coat had some time to dry, black windows with white banisters were added to the broad sides of the structure to give a more building-like appearance.
But I’m going to wait for the paint to fully dry before I take pictures, so stay tuned!