Month: April 2016
Final Pictures and Video
Final Video
Project Progress Week 2
This week I experimented with sugar. I added color in different ways. Most importantly, I learned why recipes say not to stir the sugar after it starts boiling. A few times I accidentally stirred the sugar either while it was boiling or after it had started cooling. Bubbles rose from the bottom of the saucepan and instead of being malleable, it would harden to an opaque solid, similar to toffee. I bought 6 pounds of sugar, so I had plenty just in case of mistakes.
I think total I probably used 3-4 pounds of sugar in experimenting and the final project.
Progress Report Week 4
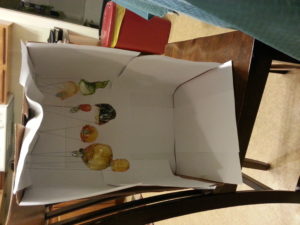
I wasn’t able to make that much progress this week because my LEDs still had not arrived. I ordered mini individual battery operated lights so that I could just hot glue them into a hole in my sugar bulbs. I also started looking for ways to present my project. My roommate suggested lining a box with white paper so it would reflect the light better.
remainder of project ~80+ total hours
For the remainder of the project, I finished up all of the things I mentioned before. I sewed on the shoulders, siding, and installed zippers along the sides of the suit to make it easier to put it on and off. the final product (shown on figure 5.1)
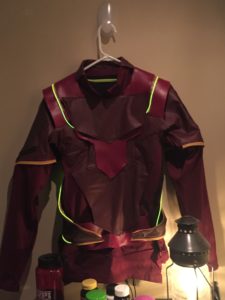
Figure 5.1: final product
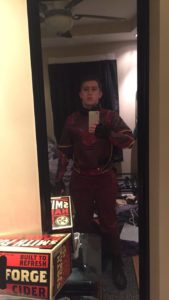
Figure 5.2: lights on
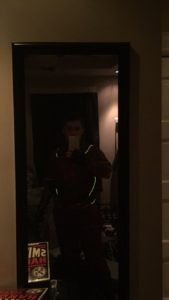
Figure 5.3 lights off
Now that the Flash suit project has been completed, I would like the chance (likely over this summer) to continue such projects in the future. while working on the flash suit, I ran into a few issues, namely in how to put the wire onto the suit in such a way that it looks presentable and nice. namely, I think it would have been far better if I had applied wire tubing instead of just using fabric loops.
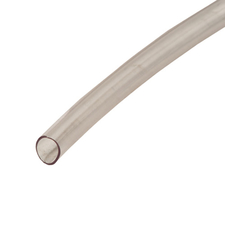
Figure 5.4 clear tubing
The problem with the fabric loops is that they seem to be very out of place when laid upon the leather. if I could fix one thing on the flash suit, that would be it. upon returning home, all I need to do for the flash suit, is to add the lightning bolt on the chest, which I will do using a car emblem (8$) and a circular door stopper I previously owned.

Figure 5.5 flash design Figure 5.6 physical emblem
in future projects over the summer, I would like to work on the Ant Man suit, using leftover fabric. this would also allow me to test out using the wire tubing technique for the suit, and have a better location for the power pack as well.
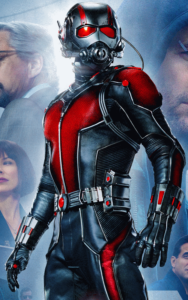

Figure 6.1: ant man mark 1 Figure 6.2: ant man mark 2
Final Glass Lantern Project
After finishing the lid design, I started hot gluing the marbles to the outside of the jar. The picture below shows the glass half done with blue marbles.
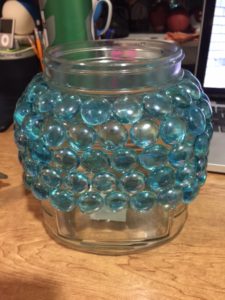
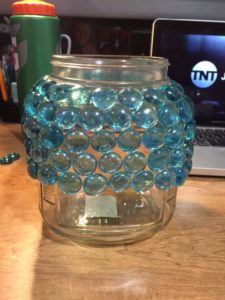
When the whole jar was covered with marbles.
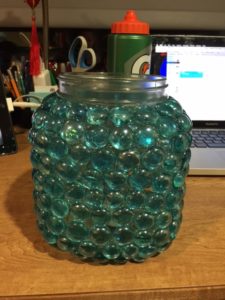

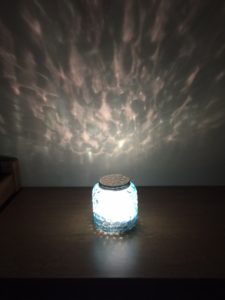
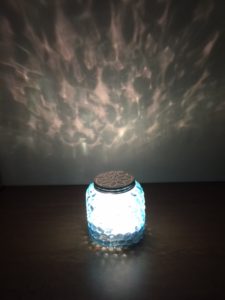
After all the marbles where glued on. I inserted the battery operated LED light inside the jar. All the pictures below shows how the jar looks with the lighting.
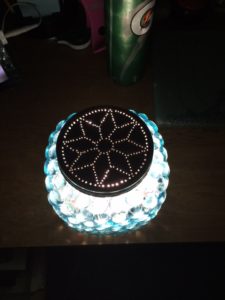
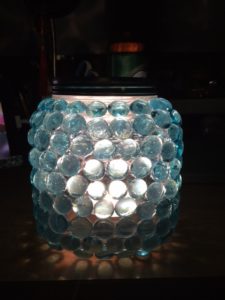
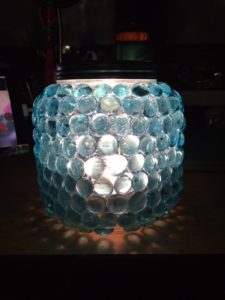
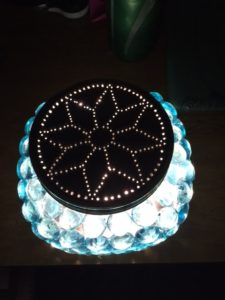
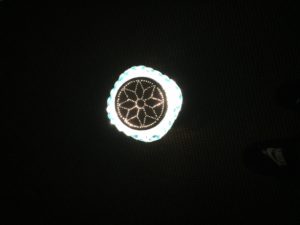
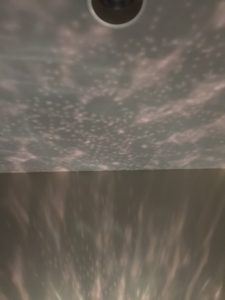
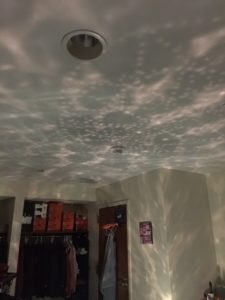
The pictures below shows how it reflects against a wall, ceiling and throughout the room.
Final Pictures
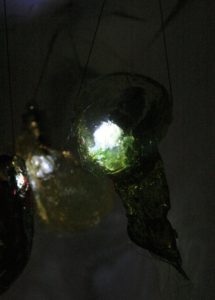
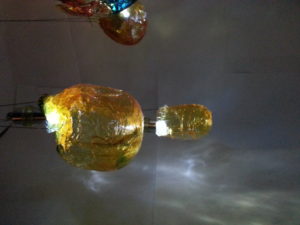
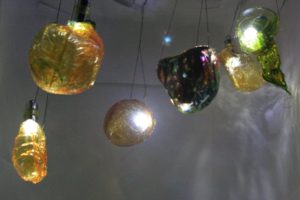
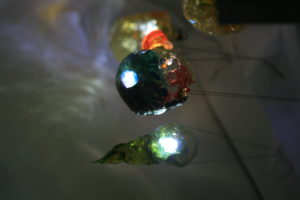
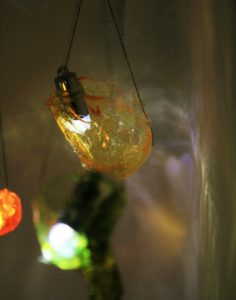
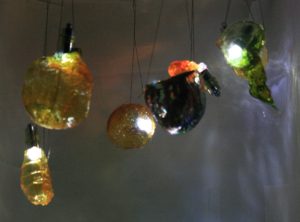
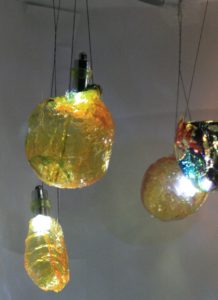
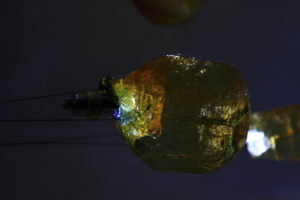
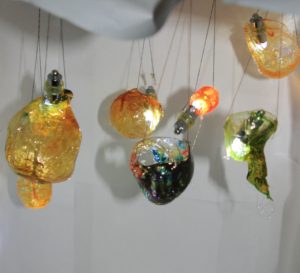
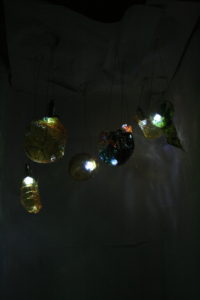
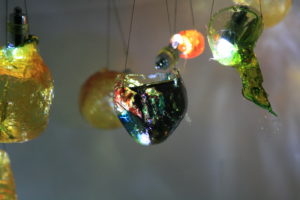
Here are the pictures of my final project. I am going to bring one of the bulbs into class, but the rest of them have mostly melted.
First, this is the setup that was used. It is a box lined with white paper.
Here are the bulbs themselves:
Final Project
This is the video of my project from start to finish. However due to the nature of the project and the way I must use my phone for it I was unable to capture a good end image for the video use and will be posting better photos after. It can be found in Fuller’s Subbasement.
LED Keyboard- Final Progress Update
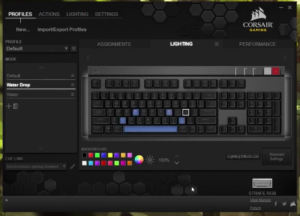
I started by setting up the mock animations in photoshop, so that I could work out which keys needed to be lit up at which points from a more traditional animation perspective. This made it a lot easier to plan out what I wanted to do when it came to actually mapping the keys.
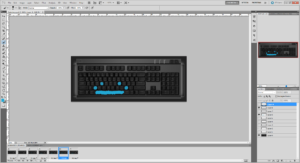
I then started setting lights to keys, and settled on two different modes: one would be a raindrop-like animation (that I had skeched in photoshop), and another that would mimic a water pattern, with ripples when keys were pressed. For the raindrop, I just had to map the keys so that they matched up with the frames I had made in photoshop. The water pattern was a little more difficult because the software doesn’t allow layered effects: I had to circumvent this using macros, which was a little tedious (I had to set the ripple effect to every single key individually).
