Progress Report 1
I started thinking about materials and implementation. The main parts of the design will be: 3D glasses, paper (or similar) to project through, a transparent water tray, light sources, and some kind of frame or scaffolding to hold everything in place.
I ordered 50 3D glasses for only 40¢ from American paper optics.
For the transparent water tray, I immediately thought of a Pyrex baking dish, but these are small. Then I thought of ripple tanks for physics experiments, but all of the ones on amazon and ebay come with vibrating wave makers which make them expensive. Then I found some youtube videos of how to make your own aquarium from Plexiglas and special solvent cement. This seems cheapest and not too hard. Maybe I can figure out how to laser cut the Plexiglas – I see robotics majors do it all the time.
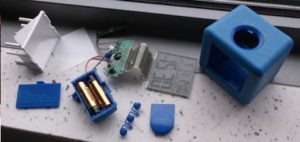
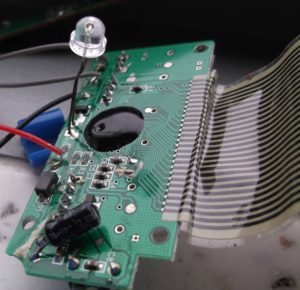
I first pictured the light sources as spotlights. However, these must be far from the subject to create hard shadows. I needed a point source such as a very bright LED. I needed to find an unusually bright LED to experiment with, so I took apart my alarm clock (see below) and used the one inside.


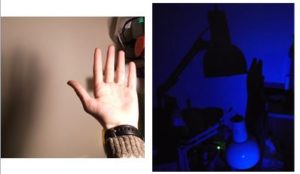
It created very crisp shadows, unlike my desk lamp.

I was worried about finding the exact red and exact cyan that would be compatible with the 3D glasses. I came up with a clever solution: just use white LEDs and filter the color with a second pair of 3D glasses. I then ordered some white 10 lumen LED’s (which is apparently very bright) from a website called superbrightleds.com. Aptly named!
Finally I thought about the frame or scaffolding. I have seen reusable metal prototyping channels, called 80 20, used in several MQP’s and at my summer job. They would be ideal, but unfortunately it would cost about $70 for the amount I want. A cheaper alternative is to make something structural out of cardboard. While it sounds like a weak material, it can be quite sturdy when there is enough of it. Prof. Rosenstock suggested PVC which I think is a great idea.
