Progress Report 2
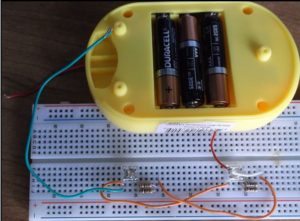
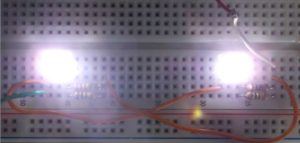
My LEDs arrived, and I wired them up on my breadboard I used three 1.5V batteries in series (4.5V) as the power supply. I used a battery holder taken from a flashlight. I was initially confused that each LED had four pins, but apparently each pin is connected to one other pin such that there are effectively two pins. I wired the LEDs in parallel, giving each one a current limiting resistor. This resistance was chosen so that the LED current would be the nominal value of 20mA. The forward bias voltage is 3.2V, so R=(V Battery – V LED)/ i LED = (4.5-3.2)/20E-3 = 65Ω. I didn’t have 65Ω so I used 100Ω and 200Ω in parallel for 66.67Ω.
I also made a rough test setup to see if shadows would be actually 3D. I just used books and a box to hold up the paper. I tested the following transparent items: Tupperware lid, eye glasses, safety glasses, drinking glass, empty clear tape dispenser, clear ruler, plastic bottle. The results were spectacular! It worked just as I thought, and the orientation of the objects was mirrored across the page as predicted, meaning that the part of the furthest part of the real object is the closest part of the virtual object.
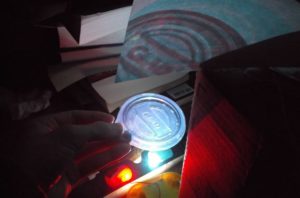
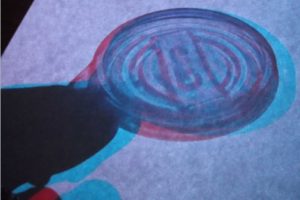
I took some pictures to see if they would still be as 3D when viewed on the computer. Unfortunately, either the camera or the screen shifted the color slightly so that you can see a little bit of the red image through the red lens, which you are not supposed to. So, the effect is best when seen in person because the second pair of 3D glasses is filtering the light sources to exactly the right colors.
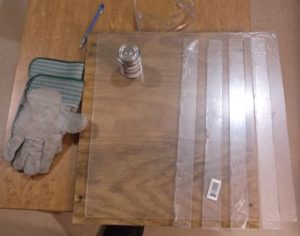
I bought an 18” x 24” x 0.9” sheet of Plexiglas from the nearby Home Depot. I cut it by scoring it with a straightedge and razor blade and breaking it over the edge of the table. This worked except for one of the sides, which cracked in half. I think the problem was that the walls are so short so there is less leverage and a lot of force is required, and it is harder to keep the force evenly distributed. I am hoping to put this wall back together with the solvent glue.
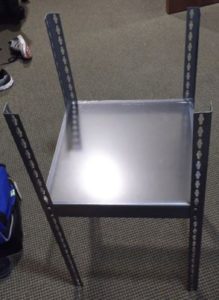
On the framing front, I remembered seeing a reusable shelving system in our basement. It was a metal frame that could be assembled many ways and used to slide wooden shelves into. My parents were coming up for the weekend so I asked if they still had it and if they could put into the trunk. It was just the right size.
