Week of April the 4th
I started working on my light art practicum in which i was dripping wax onto a sheet of glass. I started off dripping plain wax onto the glass at different heights to see how it would effect the wax. I found out that the lower the angle to more round the dots where were as the higher the angle the more deformed and splash like they were. I found that the higher angle was the way to go.
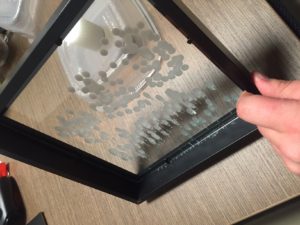
After I was done testing the angle effects I decided to add some color wax to make it more interesting and to start covering the whole frame with wax. during the process I turned the frame, held it at different angles and let some wax drip into the same spot to create flows.
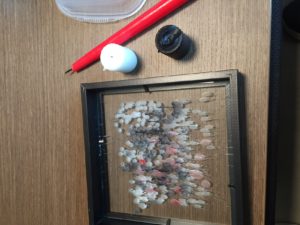
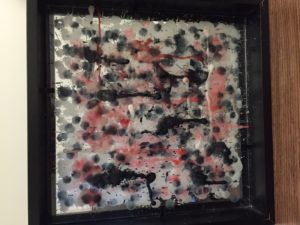
This is the final result that I got. The next decision I had to make was how to light it and I originally wanted to back light it with other candles. After I got some larger candles to light it from behind I found they didn’t provide enough light to light the wax. So I ended up using a flashlight to light it from behind and from the front and here are the results of it.
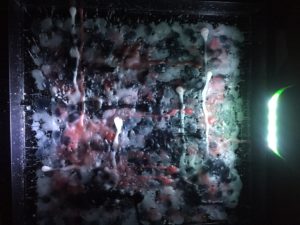
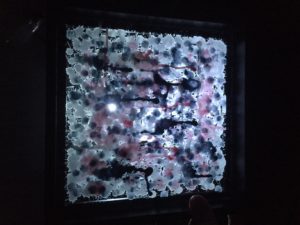
I was not happy with the results because it just didn’t look as cool as i imagined when i first started this process. Also there was a lack of detail, by this I mean there was lack of detail in the multiple layers of wax which I wanted to see. There was one positive that came out of this. I really did like the flows of wax they were the most interesting this about this first attempt. So now i needed to build a structure to hold the glass and candles in a constant position.
Week of April the 11th
I started building the box to hold the glass. I got some nails and cut plywood and tape to hold everything together.
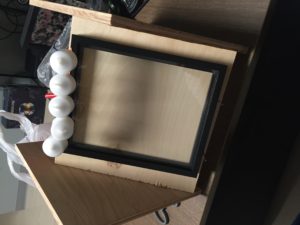

I ended up taping some nails to the top of the frame in order to stick candles on so they cold drip wax in a constant position. I do plan on making it more stable when I have access to power tools when I go home this weekend.
Then I started the process of lighting the candles and making sure that there was a constant stream of wax dripping onto the glass. This meant I had to scrap wax off of the candles to provide a path for the melted wax. Also every couple of minuets I blew the candles out in order to let the wax solidify and for new flow paths to be made. This is what I ended up with.
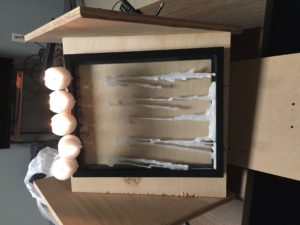
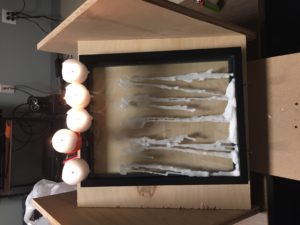
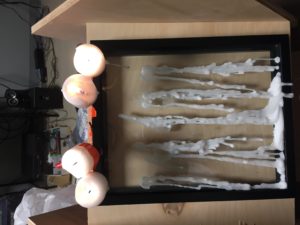
I was very pleased with the results of this, but I still needed a light source to illuminate the wax because a flashlight was just a temporary solution. Also A major improvement that needs to be made is a whole in the wood behind the frame to allow light through.
Week of April the 16th
I finished improving the box in which the frame will sit on and spray painted it black. I also found a suitable light source because it is an already defused LED light bulb, then I wired all the components together.
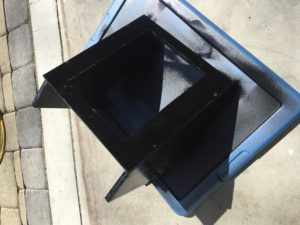
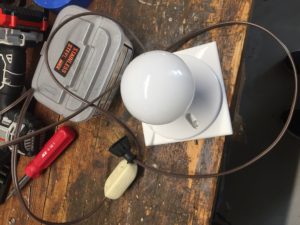
I ended up drilling holes into the top of the frame to put nails through that would hold the candles. Then I put nails in the box that would go through the bottom of the frame that would hold it in place.
Then I dripped more wax onto the frame, which I cleared of the old wax. Everything worked amazing and it fit all together and it held the candles perfectly. This is the result.
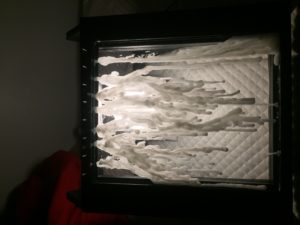
It turned out amazing and the light provided enough light to really illuminate the details in each layer of wax. Then I planned to continue to drip more wax onto the glass and I needed a diffusing material behind to add more focus onto the wax. While I was doing this my roommates mentioned how it looked like a very relaxing experience so I decided that I should make this an interactive experience for anyone to enjoy. So during the next class meeting I would see if anyone wanted to come and interact with it.
Week of April the 25th
The people that did interact with my Interactive wax said the same things my roommates said, which is that it is a very relaxing experience and I would agree because throughout the process I was never stressed and looked forward to working on it. I also really enjoy how the sculpture changes over time with more wax added and wax falling off because part become brittle.
I finally got some diffusing material (tissue wrapping paper) to light the sculpture and this is what I got.
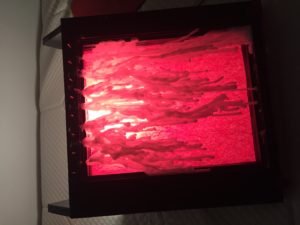
This is defiantly better than what I imagined when I first started the project so I am very pleased with how this came out. I plan to do different colors and mix colors and add more wax.
